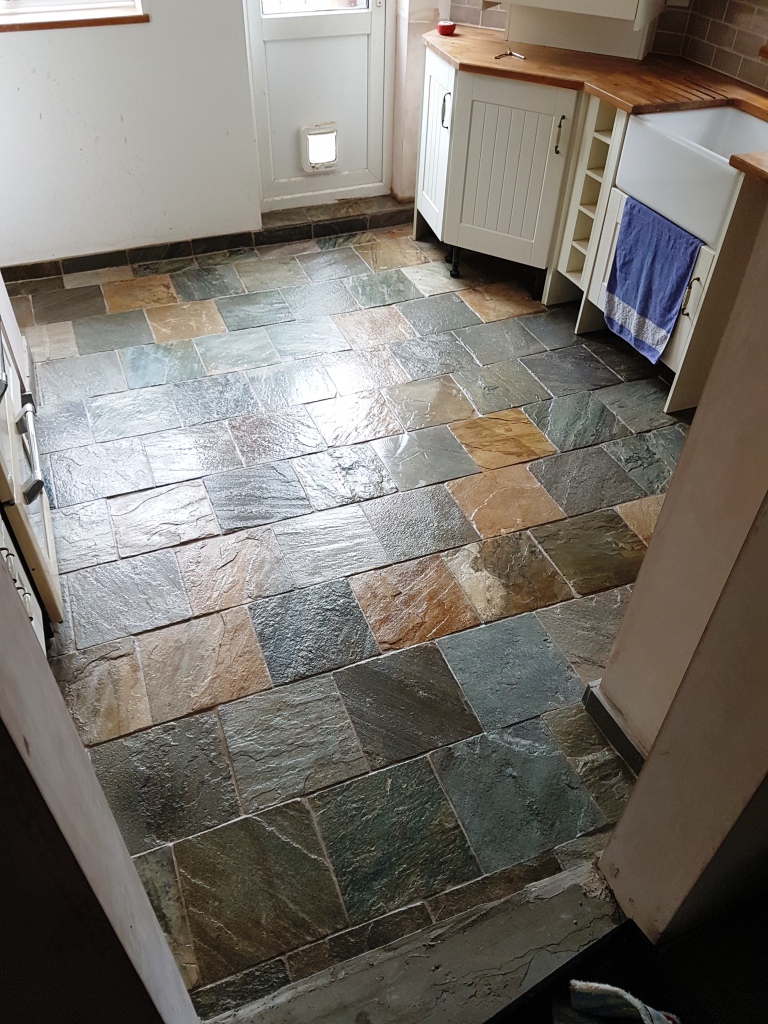
Limestone Kitchen Floor Tiles Transformed in Knotty Green
Below are photographs of a Limestone tiled kitchen floor at a house in Knotty Green near Beaconsfield. The stone floor had lost its polish with use and now appeared flat and unattractive additionally the grout had darkened severely with dirt and was overdue a good scrub to get it clean.
Natural stone is actually a porous material that needs to be sealed in order to prevent dirt from becoming ingrained however unless its maintained constant foot traffic on floor tiles wears down the sealer leaving the stone vulnerable and difficult to clean effectively.

Burnishing and Cleaning a Limestone Tiled Kitchen Floor
If you have read other posts on my website, you will know that we find the best way to restore the appearance of polished stone is through the application of a set of diamond encrusted burnishing pads of varying grits to grind away dirt and slowly build the polish on the stone.
You start with the application of the coarse 400-grit pad which is fitted to a rotary buffer machine and applied to the floor with water to lubricate the process, the resultant slurry is then rinsed off with water and extracted with a wet vacuum. Next is the Medium 800-grit pad and then the Fine 1500-grit pad, both applied in exactly the same way.
Once I had completed the whole floor with three of the four pads I got to work cleaning the grout. For this, I used a strong dilution of Tile Doctor Pro Clean, our reliable alkaline cleaner, in combination with a handheld scrubbing brush. Once the grout was clean I gave the floor another rinse with water and then removed as much liquids and moisture as possible using the wet vacuum leaving it to dry off fully overnight.
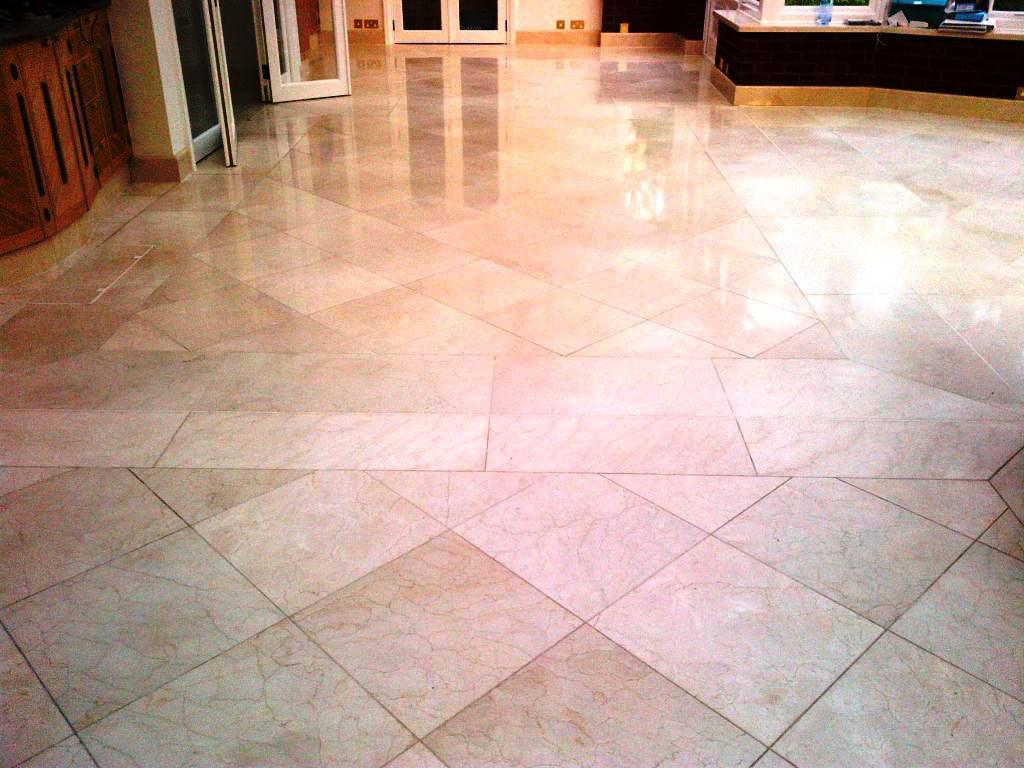
Sealing a Limestone Tiled Kitchen Floor
The following day I returned to complete the floor starting with the application of the fourth diamond encrusted pad in the set of four which is a Very fine 3000-grit using a method we call a spray burnish which essentially involves applying the pad dry to the floor with a small amount of water sprayed on the stone. This process closes the pores in the floor and adds a good quality sheen to the tile.
Finally, I applied two coats of Tile Doctor Ultra Seal which is an impregnating sealer that penetrates into the pores of the stone to provide maximum stain protection from within. This sealer is also completely transparent, so it does not affect the natural look of the stone.

Polishing Limestone Kitchen Tiles back to Health in Buckinghamshire
Limestone Kitchen Floor Tiles Transformed in Knotty Green Read More »